I'm actually going to attempt a tutorial today. I thought of doing this blog post retrospectively so please forgive the fact that I start with one letter and finish with another. I have eight nieces and nephews to buy prezzies for at Christmas, ranging from a 2 year old girl to a 14 year old boy. Three of them are in Australia which means whatever I give has to be light enough to send or something I order online and get sent to my mum's for her to wrap and deliver. This year I started planning in August (I kid you not) will the full intention of having everything done in time to post surface mail. Yeah... right... like that happened. In a fit of crafty passion and because I finally bought some Mod Podge and I was dying to do something with it I decided to do a personalised decorated letter for them all as part of their prezzie.
Here is what you'll need:
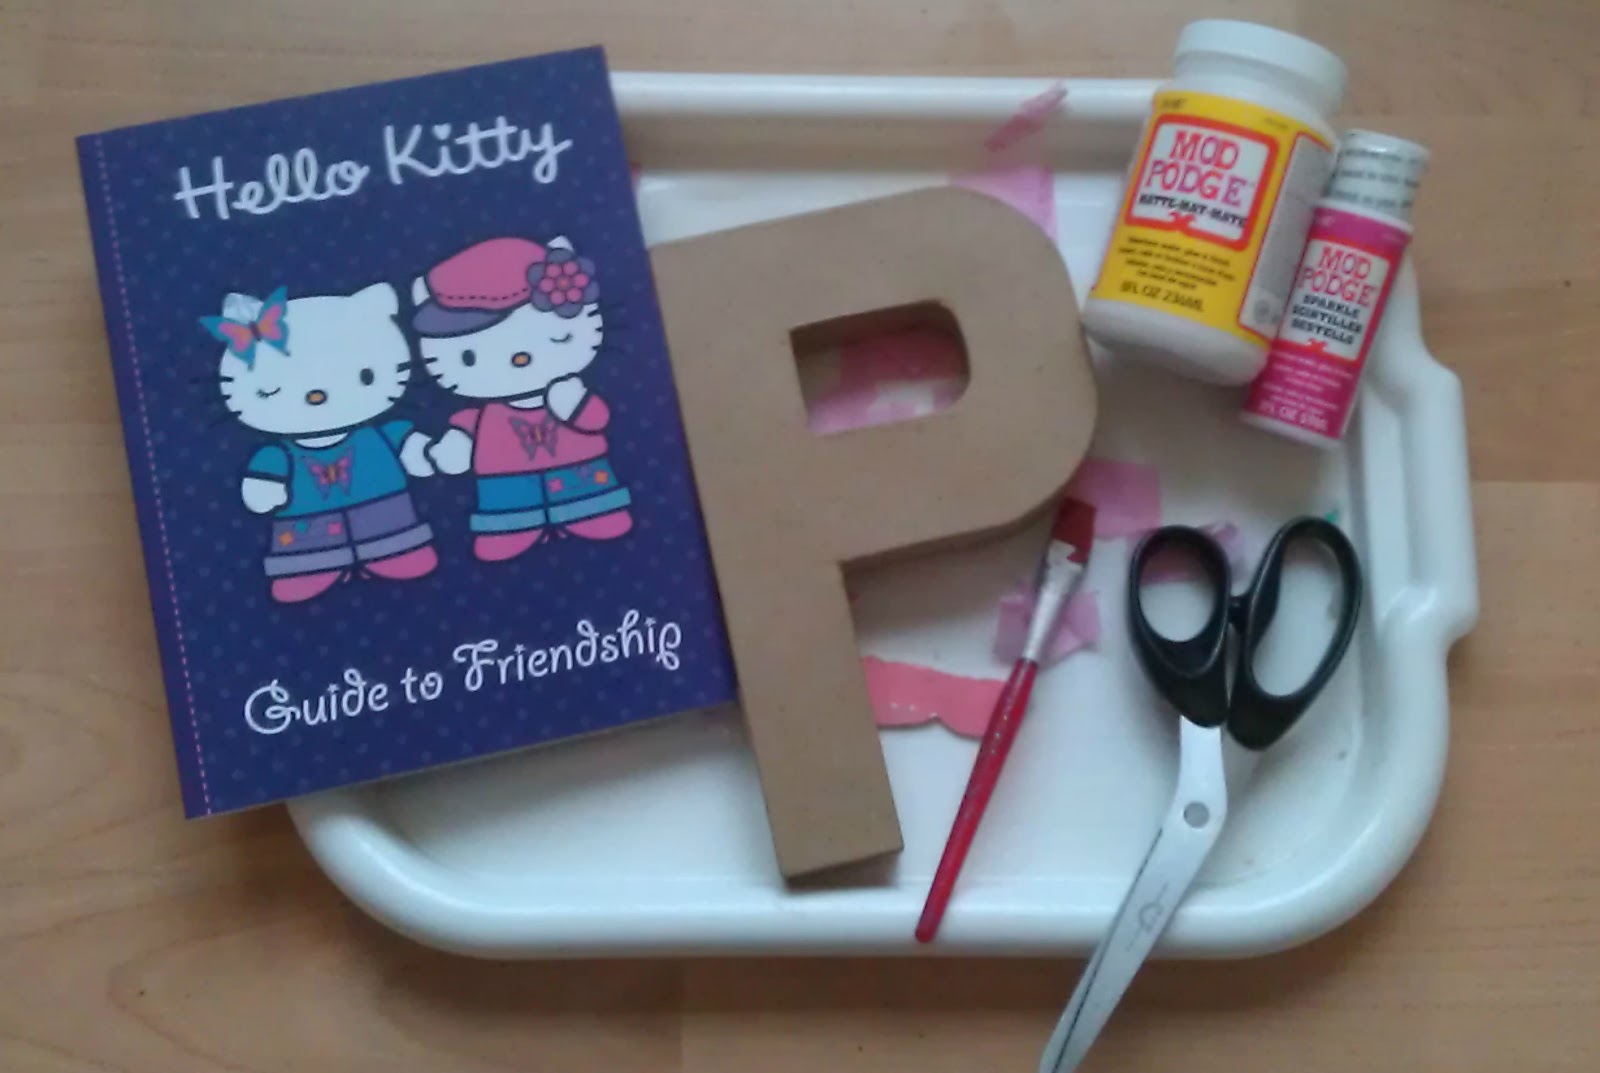
- Cardboard letters (I got mine from Hobbycraft but they're widely available online)
- Mod Podge (again, Hobbycraft) sparkly and plain
- Scissors
- Paintbrush
- Something to cut up for the pictures. Comics are great but I had a couple of these rubbish Hello Kitty books to butcher for the girls' letters
You'll need to get all your bits of paper and pictures cut up before you start gluing. The first two letters I did were comic ones and it was a bit fiddly trying to find the right pictures to cover all the brown of the letter. The later ones I did I used different coloured plain paper to cover the letter first so it didn't matter if I missed little bits here and there. I don't recommend using tissue paper, by the way, as I did on the K & M. It's ok, but it can get a bit soggy and wrinkly if you're a bit heavy handed with the Mod Podge.
Cover your letter with your choice of background paper. It doesn't have to be plain - spots or other wrapping paper could also work well. Cutting squares around 3cm x 3cm is an easy way to patchwork it, rather than trying to wrap it. Let it dry (it doesn't take long).
Then you need to cover your letter with your pictures of choice. Here is one partially completed.
... and here are two I made earlier. Give it all a final coat of Mod Podge which dries like a varnish to seal and protect everything. My boys have these on their doors stuck on with those sticky Velcro dots but they can also stand on their own on a shelf.


No comments:
Post a Comment